Rope photography
Lighting rope for photography
By Tomas Berg, Rope photographer Published 18 July 2026
Rope eats light. A flat frontal source fills the shadows inside the twist and the fibre goes dead grey, so the texture that makes rope legible as rope disappears. Light raking across the surface from the side, close to the plane it is describing, brings the twist back. Most rope photographs fail in the same three places: dark fibre lost against a dark background, no separation between the subject and the room behind them, and an exposure set for skin that leaves the rope with nothing in it.
This site writes about rope as an image, and it publishes no tying instructions: no steps, no named ties given as method, nothing to follow. Rope on a body carries real physical risk, and anyone who wants to learn it should learn in person, slowly, from experienced teachers.
Rope is a difficult subject for a fairly boring physical reason. It is dark, it is matte, and its surface is made of small spirals. Every one of those properties works against the camera.
Rope eats light
Jute and hemp absorb a large share of what falls on them and return very little. Hold a length next to a sheet of paper under the same light and the difference is startling. That absorption is the first problem: rope needs more light than the skin next to it, while sitting in the same frame under the same source.
The second problem is finer. What makes rope look like rope is the twist, and the twist is only visible as a repeating pattern of tiny shadows running along the length. Those shadows are shallow. Any light that reaches them fills them in. So the more evenly a scene is lit, the less like rope the rope looks, and a photographer who solves the exposure problem by adding a big soft source in front has usually made the texture problem worse.
Rake it
The fix is angle rather than quantity. Light arriving nearly parallel to a surface, grazing across it instead of hitting it face on, leaves every raised part throwing a shadow behind it. On rope that means each turn of the twist casts its own small shadow, the spiral becomes visible, and the fibre reads as fibre.
In practice this means a single source well out to one side, often further round than instinct suggests, sometimes almost behind the subject. The further round it goes, the more texture appears and the less of the subject stays lit, so the position is a trade rather than a setting. A second, much weaker source on the opposite side can lift the shadow side enough to keep a body readable without flattening anything, provided it stays weak. Most people make the fill too strong and undo the work.
Hard sources rake better than soft ones. A bare bulb, a small reflector or the sun through a gap will all give crisper texture than a large diffused panel in the same position, because a large source wraps and wrapping is exactly what fills the shadows.
Dark on dark, the commonest failure
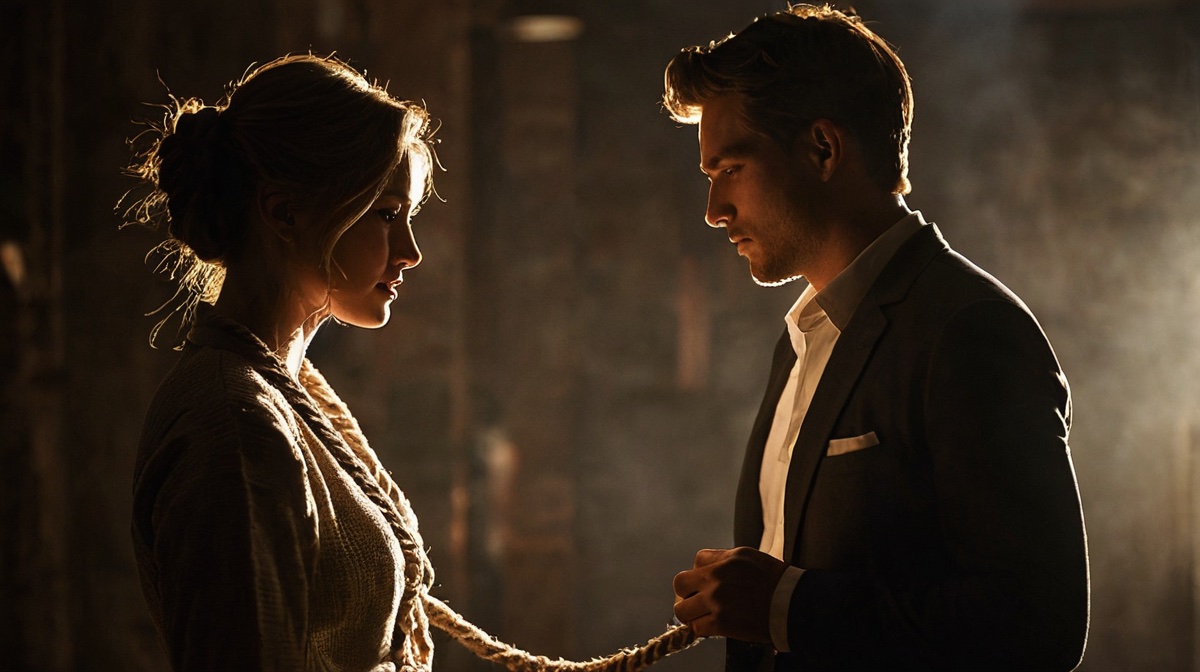
Look through any collection of amateur rope photographs and the same picture recurs: dark rope, dark clothing, dark background, everything sharing one narrow band of tone. The arrangement may have been excellent in the room. In the frame it is an indistinct mass.
The eye separates objects by difference, and tonal difference is the strongest kind available in a monochrome or near monochrome image. If the rope and the ground behind it sit within a stop or so of each other, no amount of sharpness will pull them apart.
There are three ways out. Change the background so it is clearly lighter. Keep the dark background and add a light from behind and to the side, so the edges of the subject and the outermost lines of rope pick up a bright rim. Or introduce a third material at a different tone, a pale robe or a length of light cloth, and let the rope cross it. The third option is the one that also improves the composition, because it gives the frame a texture contrast rather than only a tonal one.
Getting the subject off the wall
Separation and distance are different problems and they get confused. A subject standing close to a background will pick up spill from every source, so the wall behind them is lit at roughly the same intensity as they are, and the picture flattens into one plane.
Moving the subject forward, even by a metre or two, drops the background by a useful amount because light falls off quickly. The same setup that produced a flat picture at half a metre from the wall gives a subject standing out against a darker ground at three metres. Nothing else has to change.
Depth of field helps a little. It helps much less than photographers hope, especially at the working distances rope usually requires, and a soft background is not a substitute for a dark one.
Skin and jute want different exposures
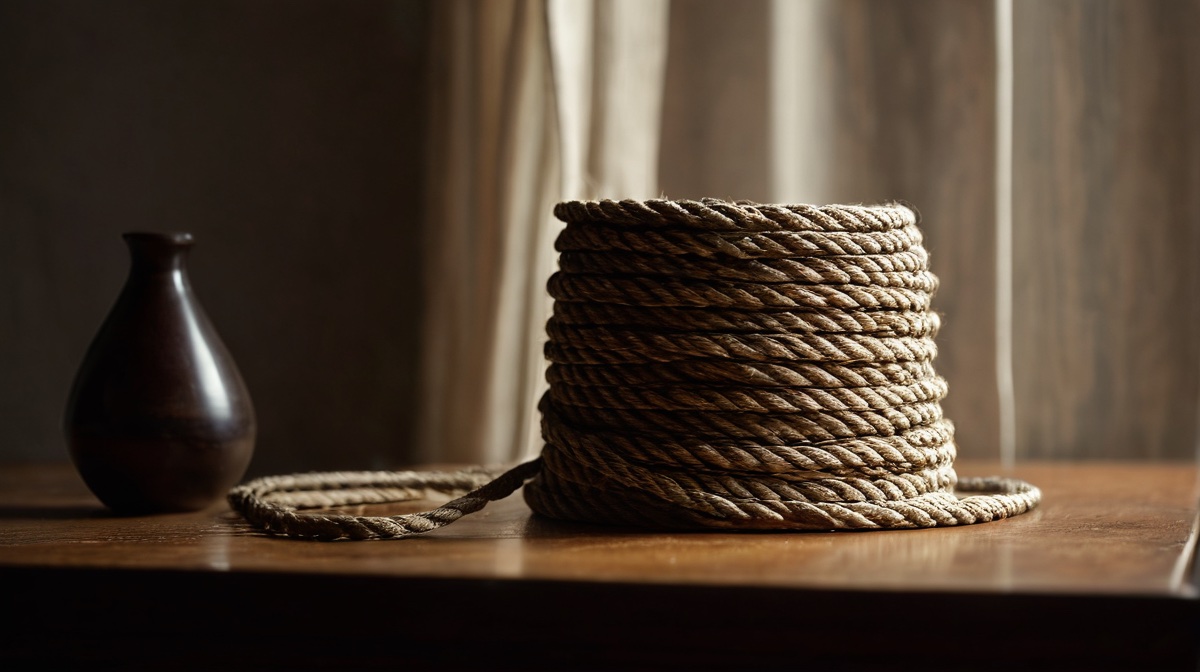
Skin has a narrow range where it looks right, and the range is unforgiving in both directions. Rope has a wide range where it still reads. That asymmetry decides the order of operations: set the exposure for skin, then adjust the position of the light until the rope survives it.
If the rope is losing detail at a correct skin exposure, the answer is nearly always to move the source round rather than to raise its power. More light on the same axis makes the skin worse without making the twist any clearer.
Colour matters here too. Fresh jute is a warm yellow brown, and under a warm source it drifts towards the same hue as pale skin, which removes another distinction the eye was using. A slightly cooler light, or a cooler grade afterwards, holds the two apart.
The same three pictures, over and over
Nearly every disappointing rope photograph is one of three failures. The light is frontal, so the texture is gone. The tones are all the same, so the subject and the background have merged. Or the exposure was set for the rope, so a face is either chalk or mud.
None of these is about equipment and none is about the arrangement in front of the camera. They are decisions made in the first two minutes of a setup, before anyone is in position, which is a useful thing to know: the picture is mostly determined before the interesting part starts. The other half of the preparation, the part involving the people rather than the lights, is in three authors, one image, and the aesthetic values these techniques are usually serving are set out in what makes a rope image beautiful.
Questions readers ask
Why does rope look flat and grey in my photographs?
Almost always because the light is coming from near the camera. Frontal light fills the small shadows inside each twist, and those shadows are the only thing that tells a viewer the surface is made of spiralled fibre. Without them, jute renders as a uniform mid grey rope-shaped object. Move the source out to the side, keep it close to the plane of the surface you want described, and the twist reappears.
What background works best for rope photography?
Anything that differs from the rope in brightness. Dark jute on a dark ground is the single most common failure in the genre, because the subject and the background occupy the same tonal range and the eye cannot separate them. A mid grey wall, an off-white paper, or a dark ground with a rim light picking out the edges will all work. The rule is separation, not colour.
Should I expose for the skin or for the rope?
Expose for the skin and shape the light so the rope survives that exposure, rather than the other way round. Skin has a narrow range where it looks right and rope has a wide one where it still reads. If you expose for the rope, skin blows out or goes muddy, and neither is fixable later. Bring the light across the rope instead of raising it, and the two can share one exposure.
A shoot is three people and a lot of talking
Technique is the cheap part of an image like this. The collaborators are the expensive part, and they are found in rooms, not in tutorials.
Find the people